DIY Guide: Remove Scratches From Your Car's Paint - Car scratch repair Sacramento
Scratches in your car's paint can be a real eyesore. They not only make the vehicle look old and worn, but they also decrease its value. While many companies offer professional detailing services for cars, it is possible to remove scratches yourself using common household items like toothpaste or baking soda - with little effort!
To help you out, we have compiled this easy-to-follow guide complete with step-by-step instructions on how to get rid of those pesky scratches once and for all.
Let's get started!
Types of Scratches
Scratches can occur due to a variety of reasons. The most common being from car keys, coins or other hard metals that have been in contact with the paint for a long time.
Here are the types of scratches you'll find on your car:
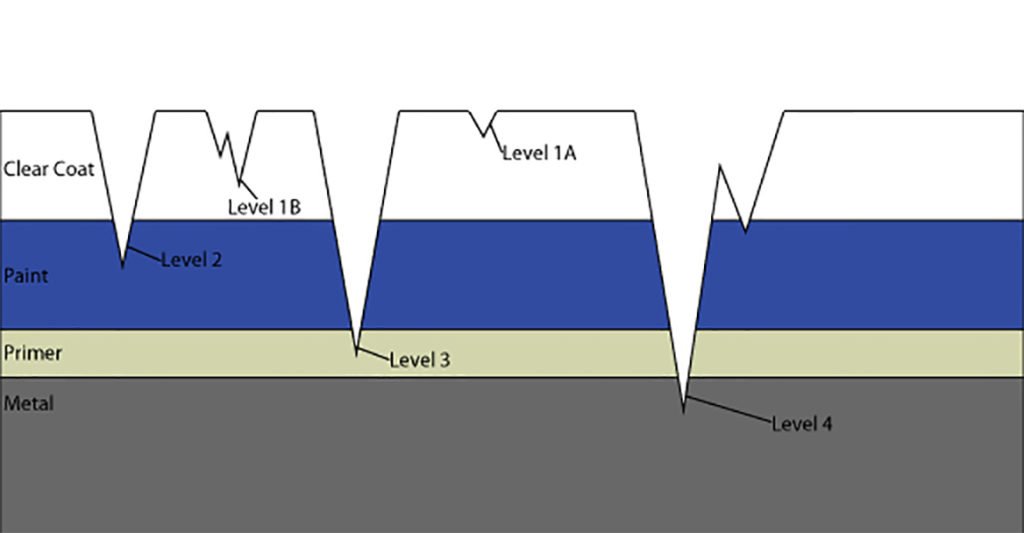
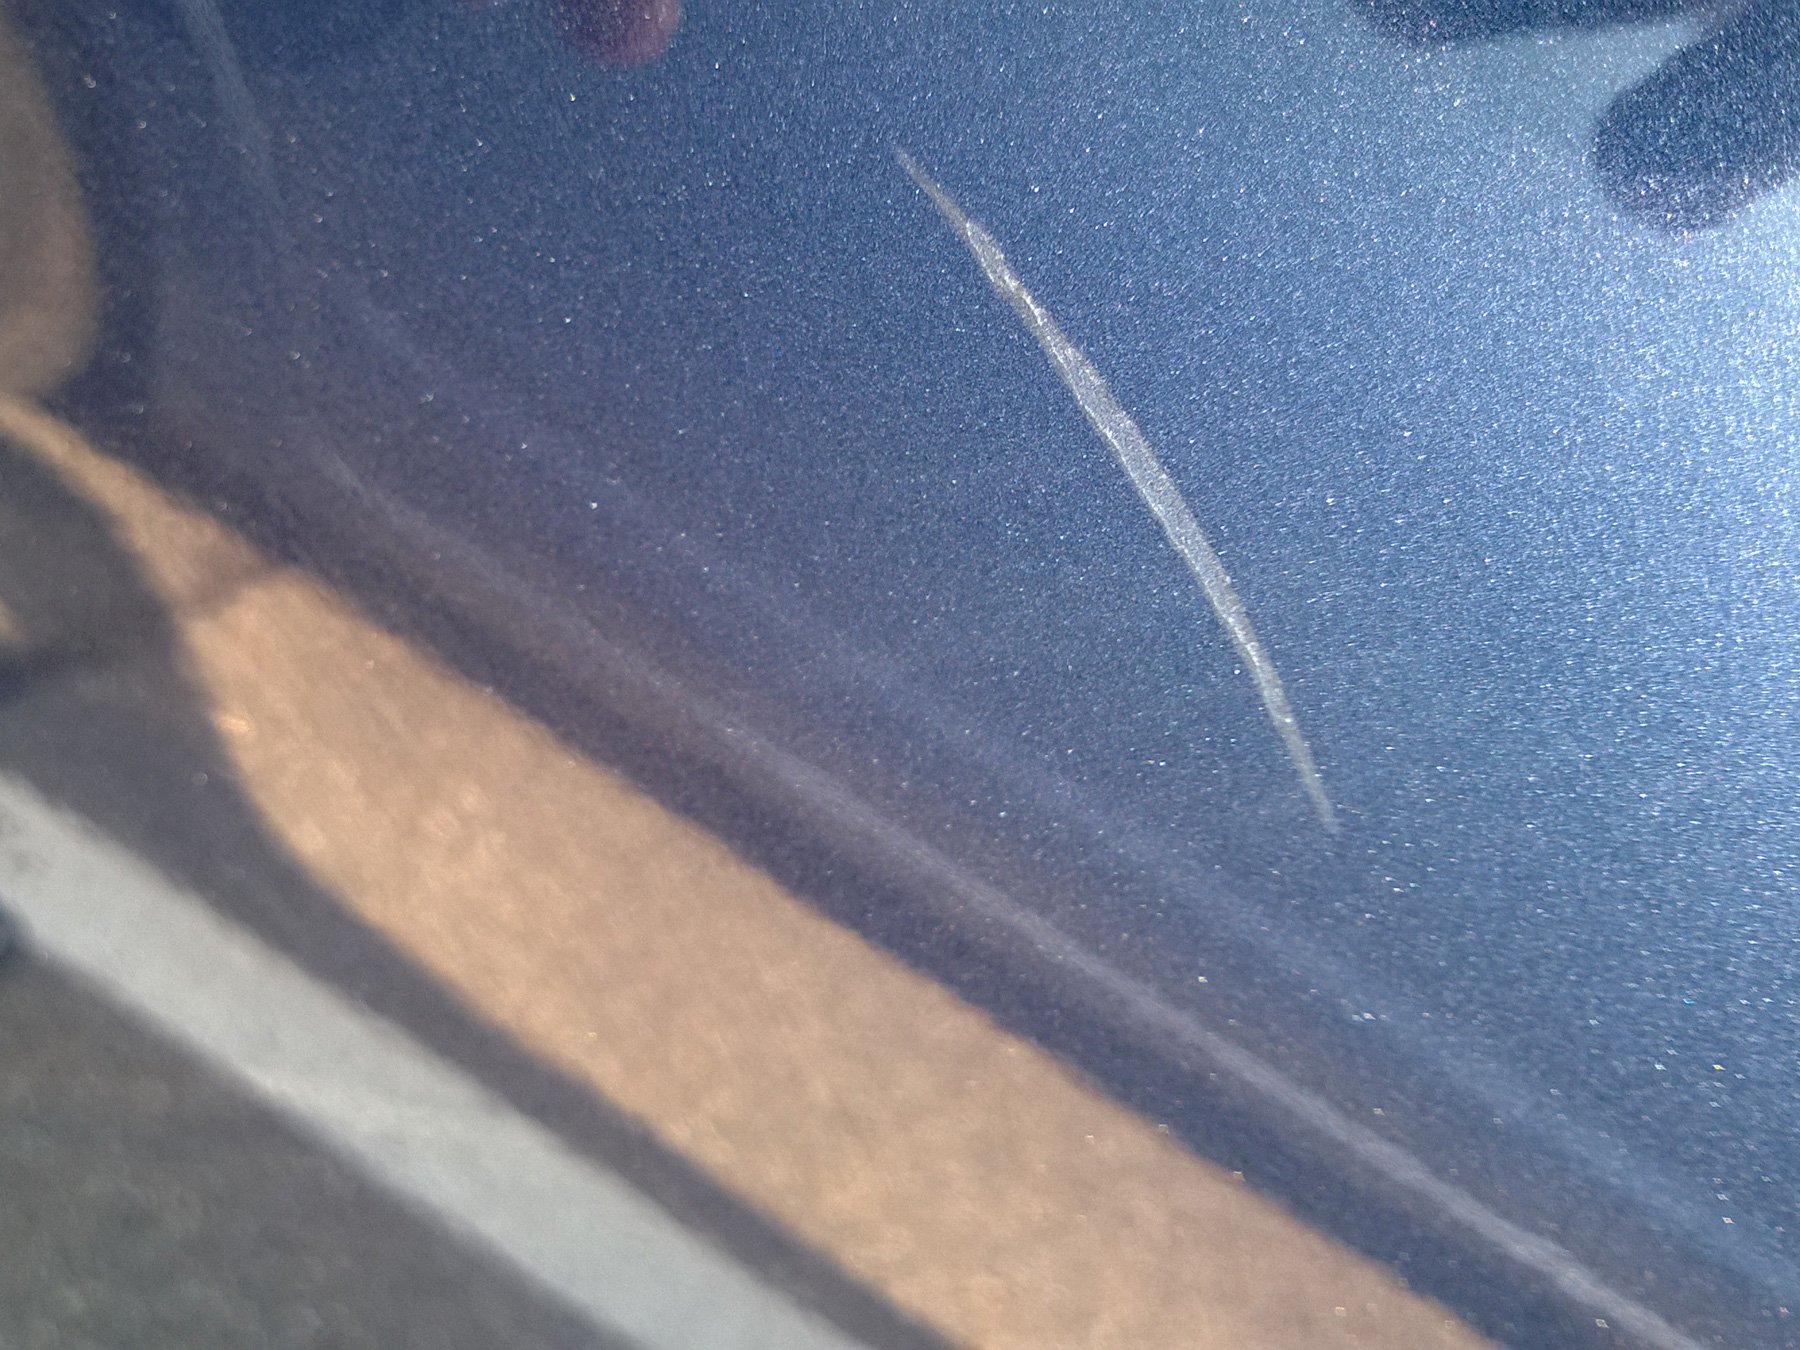
Clear Coat Scratches
These are light and often difficult to detect. They are usually found on older cars but can also occur on new vehicles that have not had the paint properly treated with wax or sealant.
We offer removal of these types of scratches starting at $35
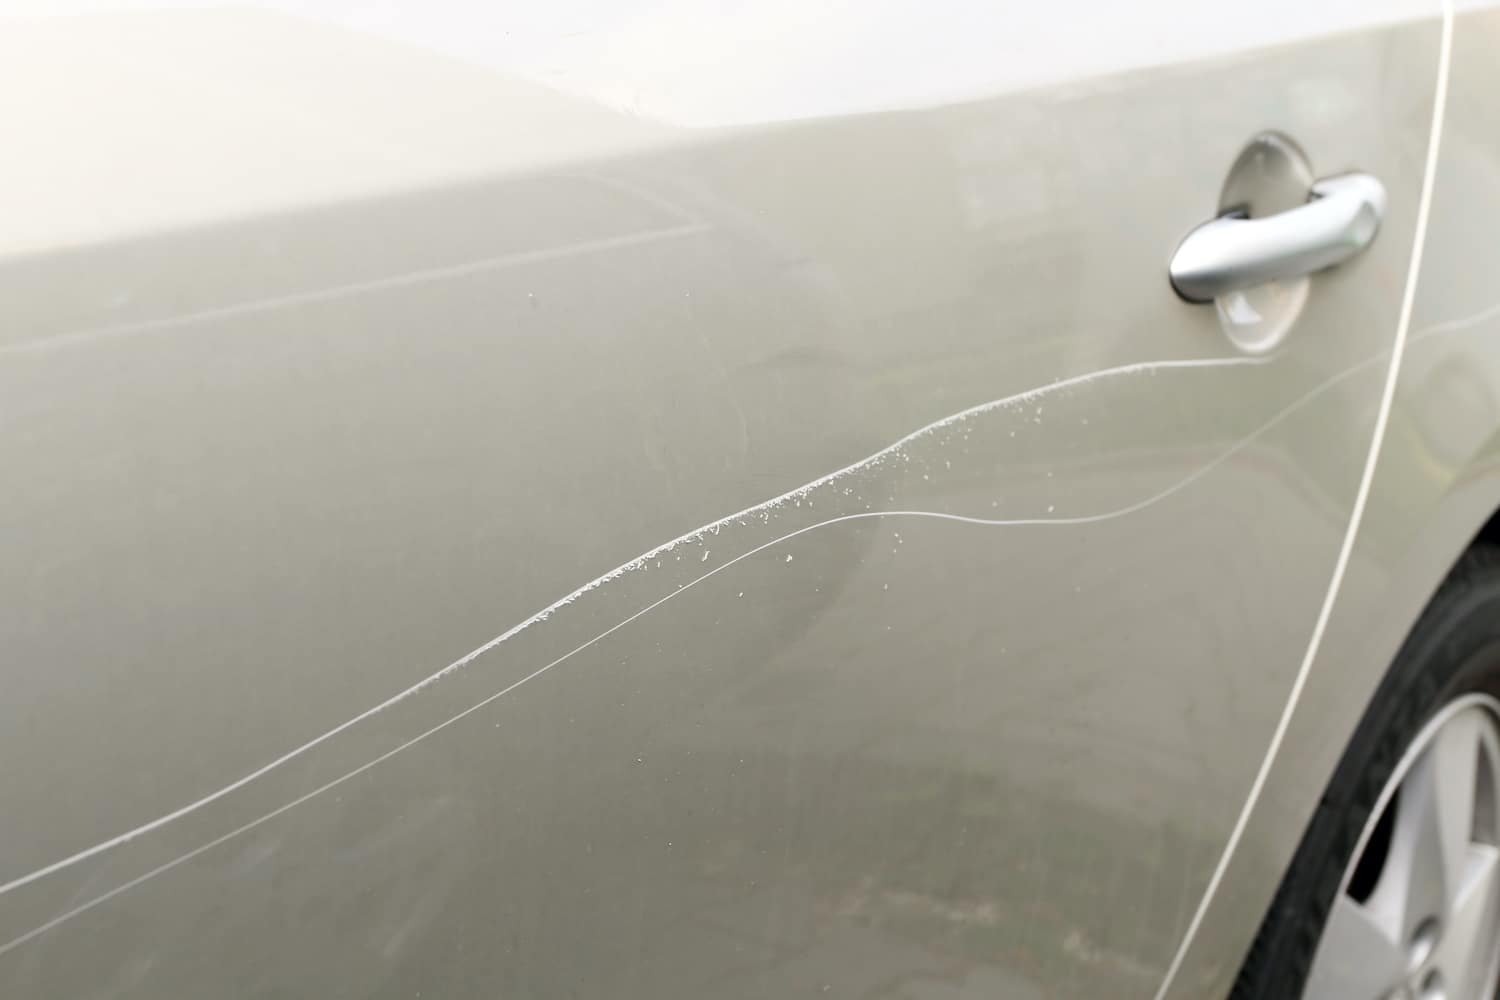
Primer Scratches
Those scratches occur on the surface of the car's primer. They are usually very difficult to remove may require a special chemical solution, which can be bought from any auto-parts store or body shop. These may be fixable through wet sanding and polishing.
Scratches like these start at $79 and would fall under our paint correction services
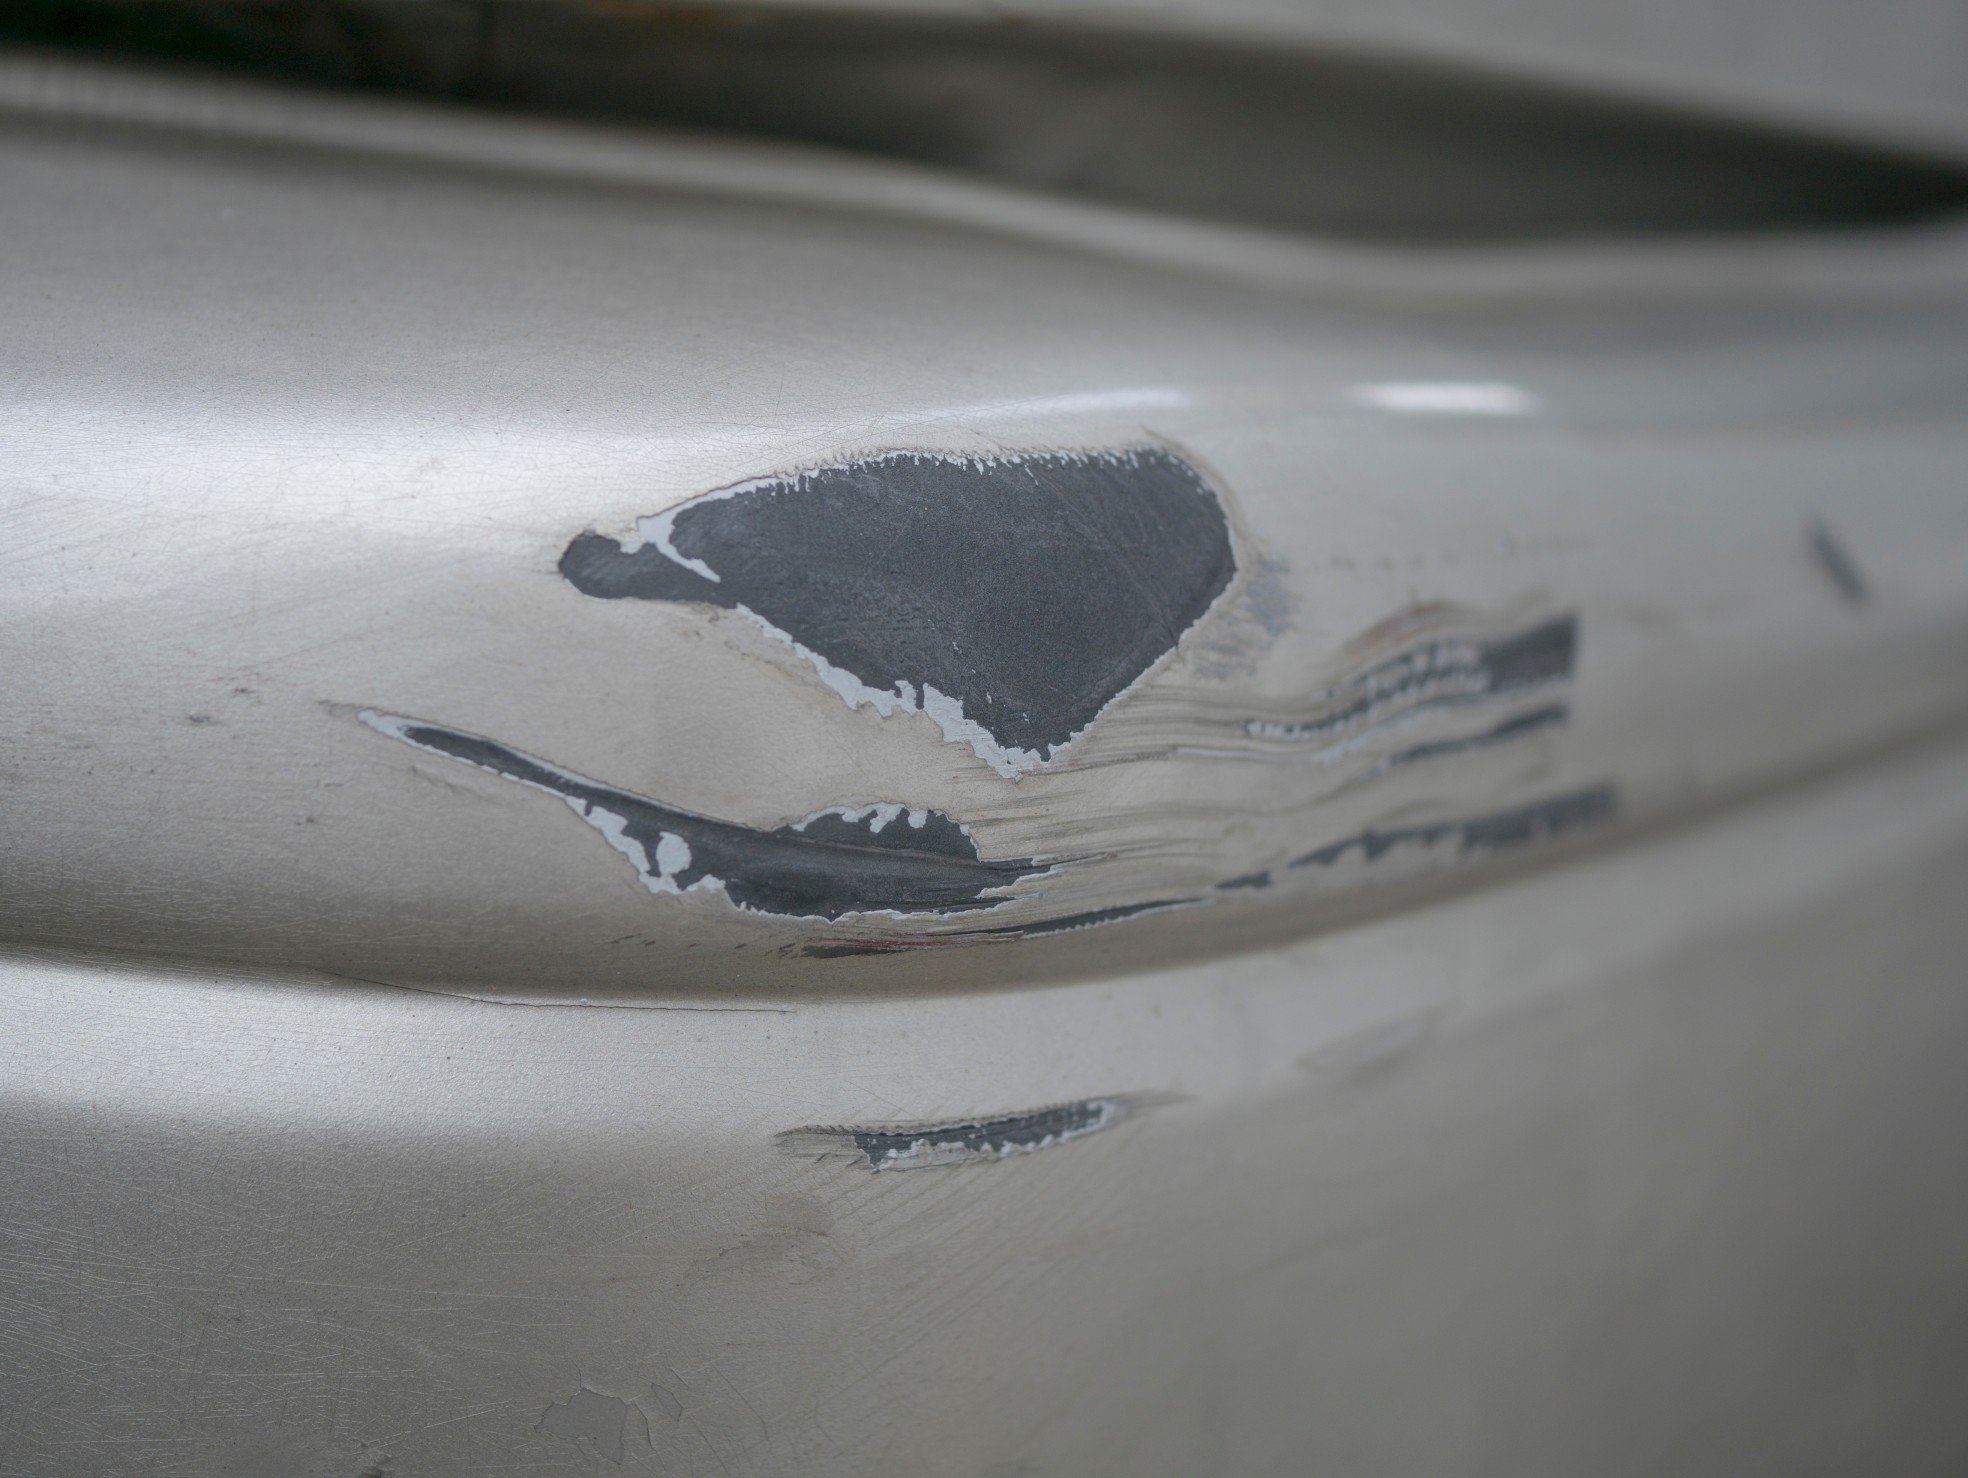
Deep Scratches (to the metal or plastic)
These are the most common type of scratches that occur on painted surfaces
In some cases, paint scratches can be buffed out using a special touch-up product. However, they can also penetrate down to the metal. In this case, they require a professional filler and paint job, which – depending on its severity -can cost thousands of dollars. Looking for a body shop? We’ll connect you with one through our community network.
Supplies You Will Need to Fix the Scratches
Before you start working on your automobile scratch, make sure you have all of the essentials. A missing item may cause problems during the cleanup if you don't have it.
Here's a comprehensive list of everything you'll need:
Cloth - Use an old cloth or towel to apply any type of scratch filler. To make the job easier, get one that has a cotton texture. Avoid using terrycloth towels since they are usually very dense and hard to work with.
Water - You'll need some water to clean up your mess after you're done patching up your scratches. Make sure you use clean water.
Masking tape - Use masking tape to protect your vehicle's paint after applying the scratch filler. Although most modern paints are resistant to scratches, it is always better to be safe than sorry.
Primer - For those scratches that penetrate down to the primer, you'll need a special scratch filler designed for use on metal.
Sandpaper - A piece of sandpaper will be very useful as a last resort to remove any excess scratch filler before applying the wax or paint sealant.
Toothpaste - Apply toothpaste on the scratches and allow it to sit on the surface for a few minutes. Rub until you see results, then rinse with water and dry off.
Clearcoat - This will help you repair those scratches that have penetrated through the clear topcoat.
Car Wax/Sealant - Once you have removed the scratches, use a wax or paint sealant to give your car's paint a brilliant shine. Wax will also protect from future damages and keep it looking good for years. Be sure to follow the directions on the back of the product.
Polish - A polish is an optional step. If your car's paint isn't looking great after applying wax, a polish will restore the colour to its original shine.
Brush - A soft toothbrush or even an old makeup brush will come in handy in applying the toothpaste to the scratches. Make sure it is clean for this purpose.
How to Remove Scratches From Your Car's Paint - 4 Methods
Magic Eraser Trick
Perhaps one of the most effective ways to remove scratches from a car's paint job, a magic eraser is a favorite choice for many. It might not be the best tool in the box for fixing deeper cuts, but it works well on light surface scratches.
Step 1: Wash and dry your car thoroughly before applying the magic eraser. Rub well for a smooth finish.
Step 2: Get the magic eraser and tear it into small pieces
Step 3: Dip the tip of the magic eraser in water, then apply it on the scratch until you can rub away the damage with your bare eyesight. If you don't see any difference, you might need to dip the magic eraser in some soap and water for better results.
Step 4: For best results, apply a clear coat of wax or polish once done using the magic eraser. You can even use toothpaste which is another famous trick to remove scratches from the paint job on your car.
Cut and polish Method
If you want to fix light scratches with a little more attention, you can cut and polish the damaged paint. But before doing so, make sure that the paint is not too deep to avoid further damage.
Step 1: Fill the scratch with car wax. You are actually covering it up until you are ready to work on it later by filling it up.
Step 2: Get sandpaper of any kind, preferably 1200 grit to start with. Wipe the wax completely first so you can apply all the pressure needed for sanding smoothly. Use tape if necessary so that you won't accidentally sand off an un-damaged spot nearby.
Step 3: Once you are done with sanding, wipe the dust off completely and check if it is smooth enough to apply a clear coat. If not, repeat the process until it is ready for further applications.
Step 4: Get your can of clear paint and spray the entire area again with fine-grit sandpaper to ensure no wax residue is left.
Step 5: Use a polishing compound and polish the damaged area till it is smooth enough to apply clear paint.
Step 6: Remove all wax from the surface you just worked on to ensure no residues are left before applying a clear coat.
Step 7: Once you have applied a layer of clear coat, ensure that you wait at least a day before applying wax on top of it.
In case you find this method difficult to apply, University Mobile Detailer is here to help you with our mobile detailing service in Sacramento, CA. You can always call us for more details.
Clay Bar Method
If you want to remove even deeper scratches than wet sanding can do, then the clay bar method is how you go about achieving that.
Step 1: Get your car's paint surface ready for claying by waxing it up first to avoid any unwanted particles getting on the area you are working on.
Step 2: Get your clay bar and place it on the scratched area.
Step 3: Rub the clay back and forth with a circular motion to try and smooth out the damage done by your car keys or any other type of scratch that happened over time.
Step 4: Once you are done, rub off any residue left behind using a microfiber cloth and apply a coat of car wax for optimal results.
Step 5: Wait until the wax dries up before wiping it off with a dry microfiber cloth. You can check if you need to reapply another layer of car wax later on if the scratch is still visible after you are done with this step.
Step 6: Check if the scratch is gone, which it should be if you carried out everything correctly. If not, repeat steps 1 to 5 with more pressure and some elbow grease.
Wet Sanding Method
If you want to remove deeper scratches from your car's paint, then wet sanding is the way to go.
Step 1: Get a soft cloth and set it aside for now.
Step 2: Place some tape around the area to don't apply pressure on an un-scratched area. In this case, the tape will serve as a guide for your sandpaper, so ensure that it is applied well enough not to move around while working.
Step 3: Sand down the damaged paint using 800 grit or 1200 grit sandpaper, whichever you prefer better.
Step 4: Clean the scratched area thoroughly so that there are no residues left. If you have any doubts, get a cloth and wipe it dry.
Step 5: Get your car wax of choice and apply it to the damaged paint. This will help in filling up the scratch after applying sandpaper on it momentarily later on.
Step 6: Get your 800 grit sandpaper and apply it well on the surface to try and fill in whatever scratches you can do with a dry cloth.
Step 7: Once done, wipe off any excess wax residues left behind and clean again until no particles are left when wiped with a wet cloth.
Step 8: Get some car polish and work on the area using circular motions that drive away from the edge of the scratch.
Step 9: Wait until the compound dries before wiping it off with a microfiber cloth. If you find any residues, try to use another cotton piece to not spread around particles all over your car's paint surface.
Step 10: Let it dry for a couple of hours before removing all tapes.
If you are a resident of Sacramento, CA, and want a professional to do the scratch removal job for you, try University Mobile Detailers. You will surely enjoy our quality service as well as affordable price.
Final Thoughts
Now that you know how to remove scratches from your car's paint, it is time to try and apply all of the steps mentioned above to get rid of those annoying damages. All we can say after this DIY guide is, "stay safe and clean!"
Have any questions or would like to book a scratch removal appointment? We’re happy to help.


